Discover the art of Tenderflake pie crust baking‚ renowned for its flaky‚ tender texture. Mastering proper techniques ensures a perfect crust every time‚ every bake.
Overview of Tenderflake Pie Crust
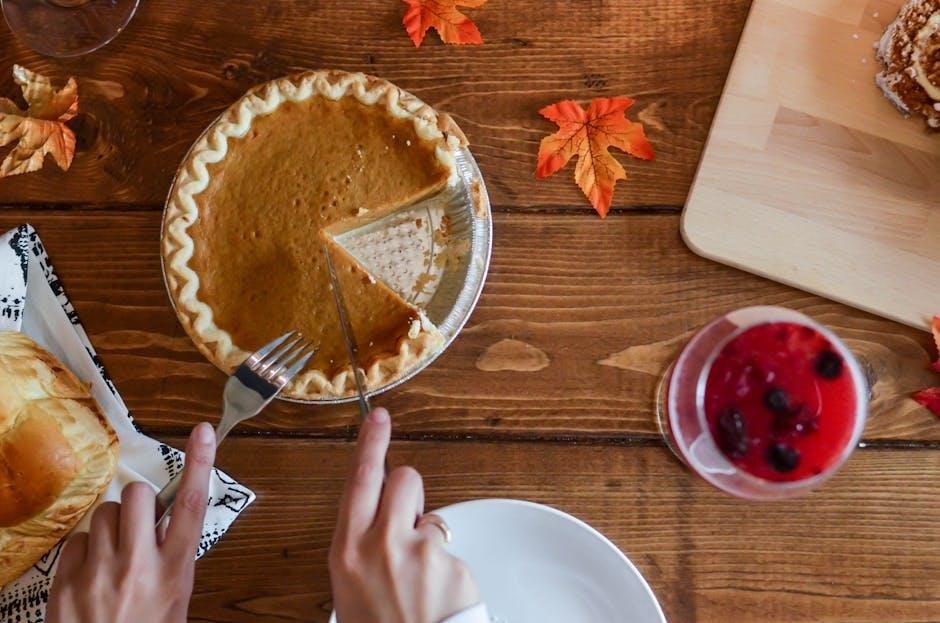
Tenderflake pie crust is a beloved choice for bakers‚ known for its flaky‚ tender texture and golden finish. Made with high-quality ingredients like Tenderflake lard‚ it ensures a light‚ layered structure. The crust’s popularity stems from its ease of use and consistent results‚ making it ideal for both novice and experienced bakers. Properly baked‚ it enhances the flavor of any filling‚ whether sweet or savory. The crust’s structure relies on precise temperature control and gentle handling to preserve its delicate layers. This traditional method has been perfected over time‚ offering a reliable base for countless pie recipes.
Importance of Proper Baking Techniques
Proper baking techniques are crucial for achieving a perfectly flaky and tender pie crust. Overworking the dough can lead to a tough texture‚ while underbaking may result in a soggy crust. Blind baking‚ pricking the dough‚ and maintaining the right oven temperature are essential steps to prevent puffing and ensure even cooking. Timing is critical‚ as overbaking can cause the crust to become overly browned and lose its delicate flavor. By adhering to these methods‚ bakers can create a crust that complements any filling‚ ensuring a professional and delicious finish to their pies every time. Proper techniques elevate both appearance and taste.
Ingredients and Tools Needed
Essential ingredients include flour‚ salt‚ and ice-cold fat like Tenderflake lard. Tools such as a pastry blender‚ rolling pin‚ and baking sheet are also necessary for success.
Essential Ingredients for the Crust
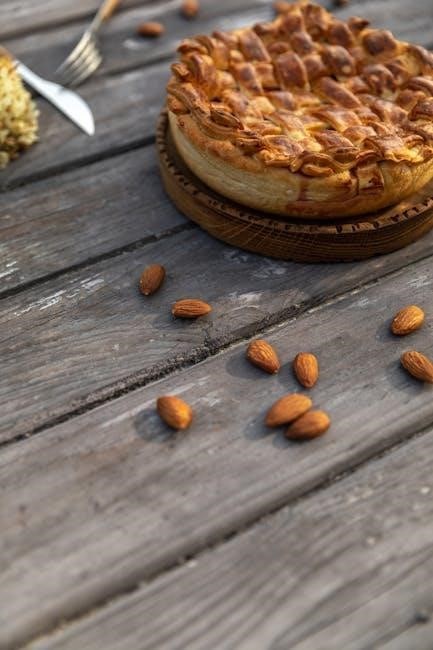
The foundation of a Tenderflake pie crust lies in its simple yet precise ingredients. All-purpose flour provides structure‚ while salt enhances flavor. The star ingredient is Tenderflake lard‚ known for creating a flaky texture. Ensure the lard is ice-cold‚ as this prevents the dough from becoming tough. Avoid substitutions‚ as they can alter the crust’s signature tenderness. Some recipes also include a small amount of vinegar or an egg to improve dough consistency. Always use cold water to bind the ingredients without overworking the dough. These elements combine to create a crust that is both delicate and robust‚ perfect for any filling. Precision in measurement is key for optimal results.
Recommended Tools for Baking
Essential tools for Tenderflake pie crust baking include a pastry blender or two knives for cutting in the fat evenly. A rolling pin is crucial for rolling out the dough to the desired thickness. A baking sheet or pie plate is necessary for shaping and baking the crust. Pricking the crust requires a fork‚ while a measuring cup ensures precise ingredient proportions. A whisk helps mix dry ingredients thoroughly. For blind baking‚ pie weights or beans are optional but helpful. A cooling rack allows the crust to cool evenly. These tools collectively ensure a smooth‚ professional-quality baking process‚ helping achieve the perfect flaky texture.
Basic Baking Instructions
Preheat the oven to 425°F (220°C). Place the pie shell on a baking sheet. Bake for 8-10 minutes‚ pricking if it puffs. Allow to cool completely before filling.
Preheating the Oven
Preheating the oven is a critical step in achieving a perfectly baked pie crust. Set your oven to 425°F (220°C) and ensure it reaches the desired temperature before baking. This ensures even cooking and prevents the crust from becoming soggy. For blind baking‚ some recipes recommend a slightly lower temperature‚ around 375°F (190°C)‚ to avoid over-browning. Always allow the oven to preheat for at least 10-15 minutes to ensure accuracy. Proper preheating helps the crust bake evenly‚ creating a flaky and golden texture. Never skip this step‚ as it is essential for a successful pie crust.
Preparing the Pie Shell
Preparing the pie shell is a straightforward process that ensures your crust is ready for baking. Remove the Tenderflake pie shell from the package and place it on a baking sheet. Gently prick the bottom and sides of the shell with a fork to prevent air bubbles from forming during baking. If using a homemade crust‚ roll out the dough and carefully transfer it to a pie plate‚ trimming any excess edges. Chill the shell in the refrigerator for 10-15 minutes before baking to firm up the dough. This step helps maintain the shape and promotes an even bake. Lightly dusting with sugar or cornstarch can also enhance flavor and texture.
Baking the Pie Crust
Preheat your oven to 425°F (220°C). Place the pie shell on a lightly greased baking sheet. Prick the bottom and sides with a fork to prevent air bubbles. Bake for 8-10 minutes or until lightly golden. If the crust puffs‚ re-prick and continue baking. For blind baking‚ prick the crust thoroughly and bake at 375°F (190°C) for 20-30 minutes. Allow the shell to cool completely on a wire rack before filling. Ensure all ingredients are ice-cold‚ especially the lard or shortening‚ to achieve a flaky texture. Mix dough gently to avoid overmixing‚ which can make the crust tough. Trim excess dough neatly for a clean finish. Use a pastry blender or fork to evenly cut in fats for optimal texture. Follow these steps carefully for a tender and flaky crust. For double crust pies‚ adjust baking time and consider covering edges with foil to prevent burning. Always let the crust cool completely before adding fillings to maintain crispness. Proper preparation and attention to temperature ensure a perfectly baked crust every time.
Blind Baking Techniques
Prick the crust with a fork and bake at 375°F for 20-30 minutes. Use parchment paper and pie weights to prevent puffing. Bake until lightly golden.
Pricking the Crust
Pricking the crust is essential for blind baking to prevent air bubbles. Use a fork to create small holes across the bottom and sides of the dough. Ensure holes are evenly spaced for uniform baking. This step allows steam to escape‚ promoting a flat‚ even surface. Proper pricking helps the crust hold its shape and avoids puffing during baking. After pricking‚ bake at 375°F for 20-30 minutes until lightly golden. Using pie weights or parchment paper can further prevent the crust from rising unevenly. Always prick thoroughly to achieve a professional finish.
Temperature and Timing for Blind Baking
For blind baking‚ preheat your oven to 375°F (190°C). Bake the pricked crust for 20-30 minutes‚ or until it appears lightly golden. Use pie weights or parchment paper to prevent puffing. If the crust puffs during baking‚ re-prick and continue; Bake until the edges are golden and the center is set. For a partially baked crust‚ bake for 8-10 minutes. Allow the crust to cool completely before filling. Avoid overbaking to ensure a flaky texture. Proper timing ensures a crisp‚ even base for your filling. Monitor closely to prevent burning‚ especially during the final minutes of baking.
Handling the Dough
Keep ingredients cold and handle dough gently to maintain flakiness. Use a pastry blender for cutting in fat and fold dough lightly to avoid toughness.
Cutting in the Fat
Cutting in the fat is a crucial step in creating a flaky crust. Use a pastry blender or two knives to work the cold Tenderflake lard into the flour until the mixture resembles coarse crumbs or small peas. Ensure the fat remains pea-sized to achieve the desired texture. Avoid overworking‚ as this can lead to a tough crust. Keep ingredients cold throughout the process to maintain the structure of the fat‚ which is essential for flakiness when baked. This step sets the foundation for a light and tender crust.
Rolling Out the Dough
Rolling out the dough is a delicate process that requires care to maintain its flaky texture. Always work on a lightly floured surface to prevent sticking. Gently roll the dough outward from the center‚ applying even pressure to achieve uniform thickness. Avoid overworking the dough‚ as this can lead to a tough crust. If the dough begins to tear‚ pause and allow it to relax for a few minutes. Once rolled to the desired size‚ carefully transfer the dough to the pie plate‚ ensuring it fits snugly without stretching. Trim any excess dough around the edges and crimp to form a decorative border. Chilling the dough before rolling can help maintain its structure and ensure a flaky result.
Tips for a Flaky Crust
For a flaky crust‚ keep ingredients cold‚ especially the fat. Avoid overmixing dough‚ as it leads to toughness. Use ice-cold water and chill dough before rolling.
Mixing and Trimming
When mixing‚ combine flour and salt‚ then cut in Tenderflake lard with a pastry blender or knives until the mixture resembles coarse crumbs. Gradually add liquid‚ stirring with a fork until the dough just holds together. Avoid overmixing‚ as it can make the crust tough. Once rolled out‚ carefully transfer the dough to a pie plate‚ ensuring it fits snugly. Trim excess dough from the edges‚ leaving a 1/2-inch overhang for crimping. Use a knife or kitchen shears for trimming‚ ensuring a clean finish. Chill the dough before baking to prevent shrinking and ensure a professional-looking crust.
Avoiding Common Mistakes
Avoid overmixing the dough‚ as it can lead to a tough crust. Ensure the lard is ice-cold before cutting it into the flour to maintain flakiness. Don’t skip chilling the dough‚ as it prevents shrinking during baking. Over-trimming the edges can result in a messy finish‚ so trim neatly. Avoid using too much liquid‚ as it can make the dough sticky. Pricking the crust improperly can cause uneven baking‚ so prick thoroughly. Lastly‚ never open the oven too early‚ as the crust may collapse. By following these tips‚ you’ll achieve a perfectly flaky and tender pie crust every time.
Mastering the art of Tenderflake pie crust baking requires patience‚ precision‚ and practice. By following the instructions and avoiding common mistakes‚ you’ll consistently achieve a flaky‚ tender crust. Remember‚ the key lies in keeping ingredients cold‚ minimizing mixing‚ and pricking the dough properly. Blind baking ensures a sturdy base for fillings‚ while proper trimming prevents messy edges. Experiment with various fillings to showcase your perfectly baked crust. With time‚ you’ll perfect the technique‚ making homemade pies a delightful treat for any occasion. Happy baking!